Sitecore CDP & Personalize Decision Templates
Description
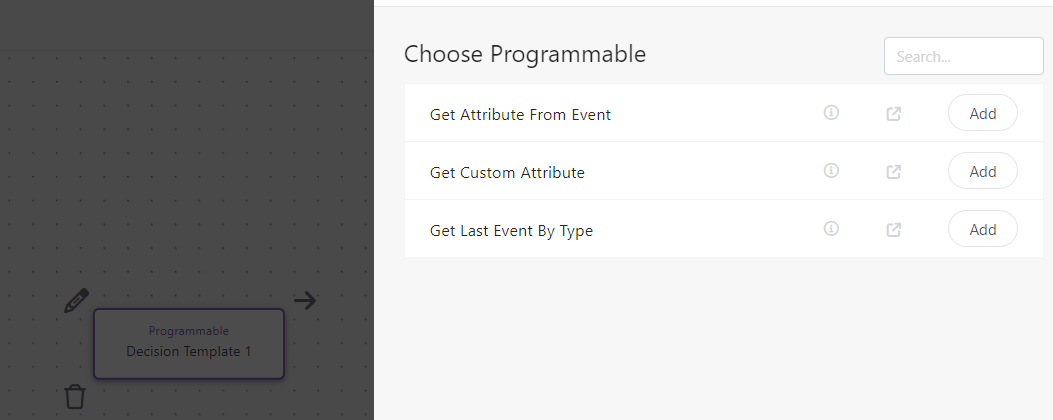
Decision templates enable business users to create simple or sophisticated decisions to use in experiments or experiences without using code. A business user can simply drag and drop a decision template from the palette to the decision canvas.
If there is a form configured for the decision template, the form displays for the business user to complete. There is no requirement to view or edit code or to write business rules.
You create decision templates in JavaScript using Immediately Invoked Function Expression (IIFE) and can:
- Easily add a decision to a decision model variant that runs server-side JavaScript
- Use the full power of Sitecore CDP by including real-time contextual data in decisioning
- Use custom attributes in decisioning
- Optionally create a form for the marketer to complete
Examples
Get Custom Attribute
In this case, we are going to allow the user to give us as input the attribute name that they need to get from any user. This decision template is going to look for that attribute in the user data extensions.
(function () { let attributeName = `[[Custom Attribute Name | string | | { required: true }]]`; let attribute = ''; if (guest.dataExtensions.length > 0 && guest.dataExtensions[0].values[attributeName] !== null) { attribute = guest.dataExtensions[0].values[attributeName]; } return attribute;})();UI
Settings
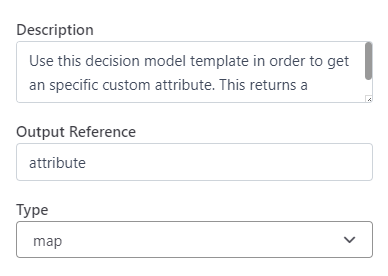
For the settings, as we don’t know the type of attribute which the user is going to ask for, the type is going to be map, and the output reference is going to be attribute.
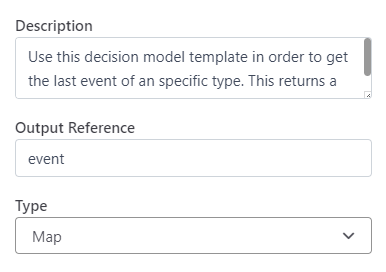
Get Last Event By Type
For this use case, the user is going to be able to send the type of event that they need to get from the user. In this case, the decision template is only going to return the last event of that type in all the user sessions.
(function () { let eventName = `[[Event Name | string | VIEW | { required: true }]]`; for (var i = 0; i < guest.sessions.length; i++) { var session = guest.sessions[i]; for (var j = 0; j < session.events.length; j++) { var event = session.events[j]; if (event.type === eventName) { return event; } } } return null;})();UI
In this case, the default value is VIEW, so if the marketer doesn’t change anything from the decision template input, they are going to get the last VIEW event.

Settings
For this settings we need that the type of variable that we are going to get is map, so we can get the event object. And the output reference is going to be event.
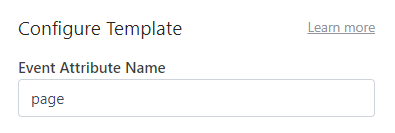
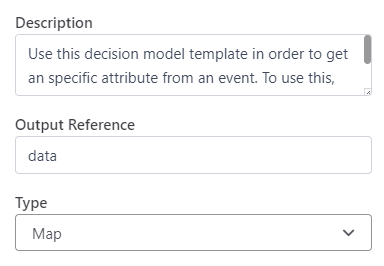
Get Attribute From Event
This type of decision template is a special one, because, if you read the code, you are going to see that ‘event’ is never defined. This is because in order to use this decision template you must have declared an event variable as the output of another programmable or decision template in the same decision model.
(function () { let dataName = `[[Event Attribute Name | string | page | { required: true }]]`; if (event === null || event === undefined) return null; let arbitraryData = event.arbitraryData; if (arbitraryData === null || arbitraryData === undefined) return null; return event.arbitraryData[dataName];})();UI
Settings
For these settings, we need to get a type map because we don’t know the type of attribute that the user is going to ask for. And the output reference is going to be data.
Usage
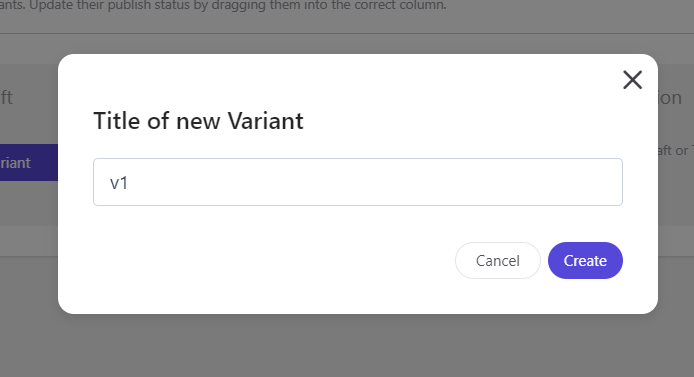
For this example, we have a requirement that the marketer needs to know the user’s favorite category, and also the last page that the user visited. For this, they can use all the decision templates which we have created. First, create a decision model and there create a variant. (Usually, you should name the variants v1, v2, …).
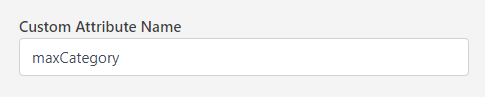
Now, you can drag and drop the decision templates needed to complete the requirement. So, in order to get the favorite category for any user, we can use the ‘Get Custom Attribute’ decision template, as we know that there is a custom attribute for each user that is called maxCategory. For this, drag and drop the decision template and select ‘Get Custom Attribute’.
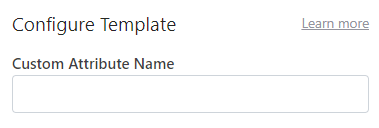
Now, you can edit the decision template and you will see the little form with the attribute name that we need. In this case, it is maxCategory.
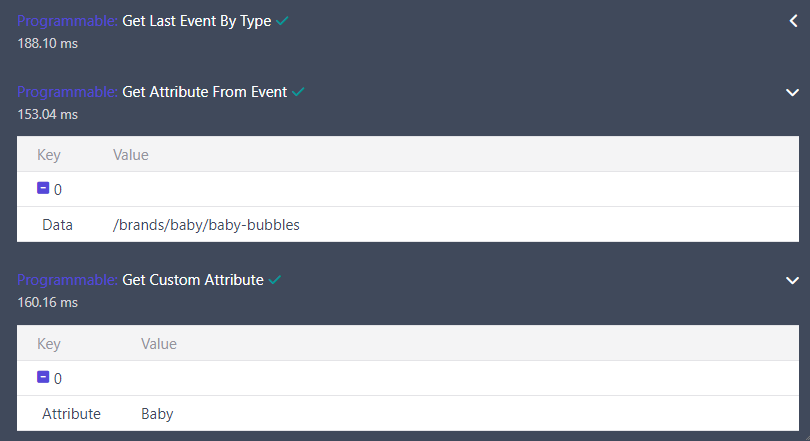
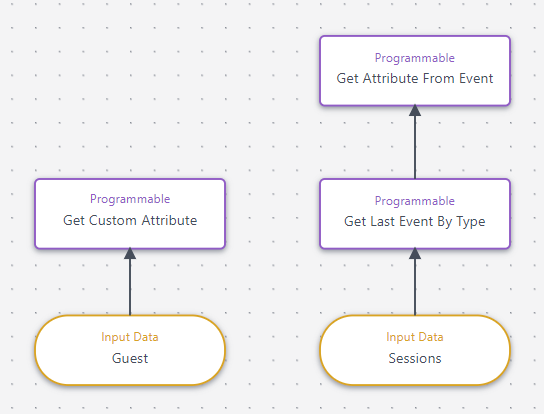
Now, to get the last visited page we can use the other 2 decision templates, the first one to get the last VIEW event, and the second one to get the page attribute from that event. Add both decision templates to the canvas and connect them. Also, you can add the input data for each decision template (this is not necessary, but it helps other people understand the whole decision model).
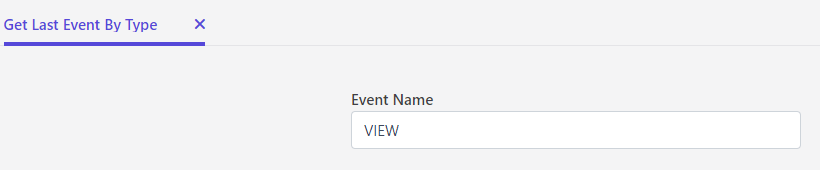
Finally, configure the 2 decision templates, for the ‘Get Last Event By Type’, the event name is going to ve VIEW, and for the ‘Get Attribute From Event’, the attribute name is going to be page.

Finally, you can save the decision model and test it by clicking on Test Canvas. There, add a customer ref or identifier and click on Test Canvas.

In the Response Tab, you will see the needed data!