Get Sitecore Components into Sitecore CDP & Personalize
Description
As mentioned in another blogs, Sitecore CDP and Personalize offer powerful tools for enhancing customer engagement, but businesses must overcome the challenge of integrating their content with these platforms. As Sitecore CDP and Personalize don't have content, businesses need to find a way to get their content from the CMS to these tools to effectively personalize their customer experience.
In this blog, we will explore how businesses can get Sitecore components into CDP and Personalize. By following these steps, businesses can effectively leverage the power of Sitecore CDP and Personalize while also ensuring that their content is integrated and personalized for their customers.
If you are interested in learning how to get Sitecore Item Data into CDP & Personalize, check out this blog.
Solution
This solution is a little more complicated or I would like to say a more custom one, but provides a more streamlined process for content management. With this solution, businesses can get not only the data but also all the components (with the presentation) from the CMS. They can then inject this component into Personalize, eliminating the need for HTML, CSS, and JS in another platform. This solution allows everything to live in one platform, the CMS, providing a more unified approach to content management and personalization.
Get Sitecore Components
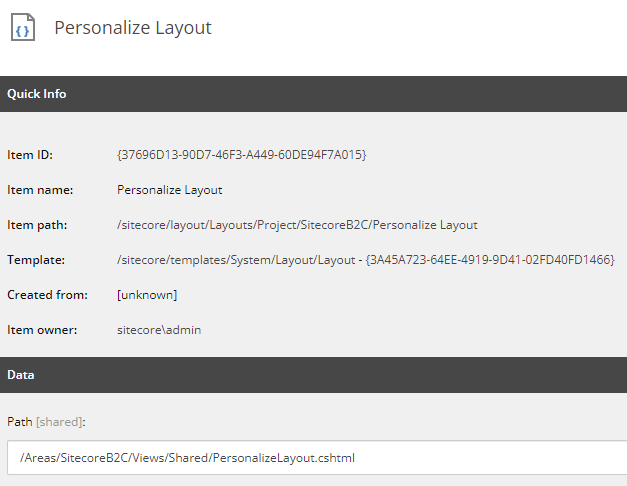
For this implementation, you need to create a new layout in Sitecore so that any component that you need returns as HTML but now parsed as a JSON. To achieve this you only need to create this layout on your site:
// PersonalizeLayout.cshtml@{ var data = Html.Sitecore().Placeholder("component").ToString().Trim(); Response.ContentType = "application/json"; var model = new { data = data };}@Html.Raw(Newtonsoft.Json.JsonConvert.SerializeObject(model))Then in the CMS, you will need to create the layout
Finally, with this layout, you can create the items you need and set the created layout as the default one. For this example, the template used is the Item template from System templates. Finally, as this works as a page, you can add all the needed components there as you wish! For this example, it is used a component that shows a product grid.
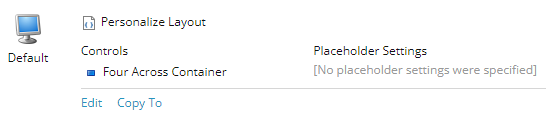

There are created 4 components, one for each category of products. The goal is to display recommended products related to the category that the user likes the most.
Create Connection
Add a Data System Connection and configure it with a name, description, icon and without authentication. In the request, you need to add the URL for the components you created. In this case, the path is /personalization/products/components. So add the URL with a parameter so you can add the path to the item you need each time.

Test your connection
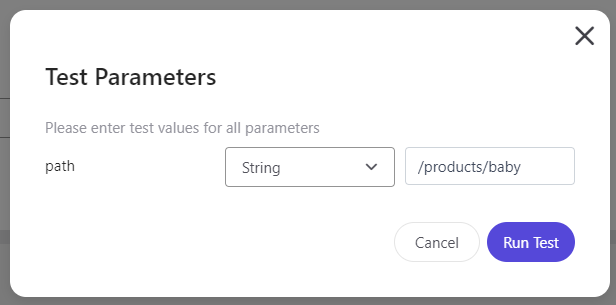
See if the response has all the data you need
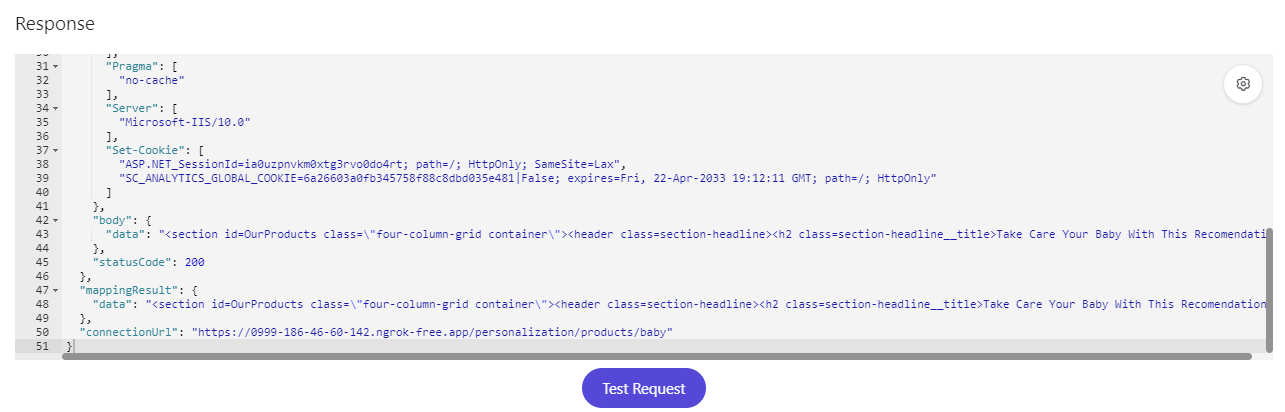
Now you need to map your results
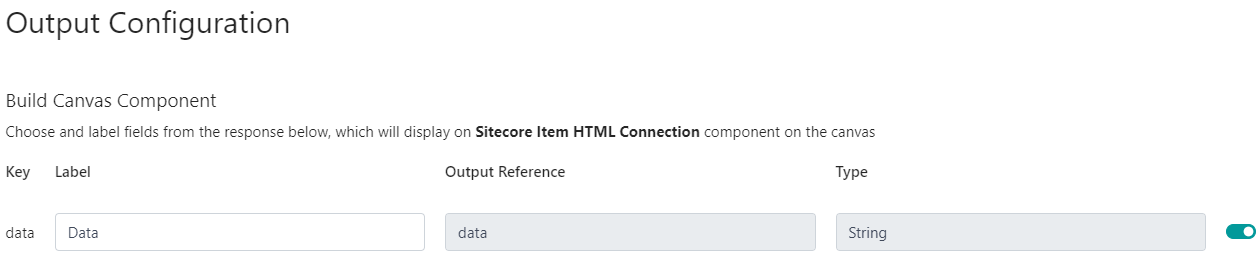
As this connection is very generic you will only get the data result so you will be able to get any component!
Finally, just save the connection.
Create Decision Model
With the connection created now, you can use it in a decision model in order to get the needed component depending on the max category of the user. For this, we will use the template created here Decision Templates

Then, with that attribute you can create a decision table to know what path you need to get from Sitecore.
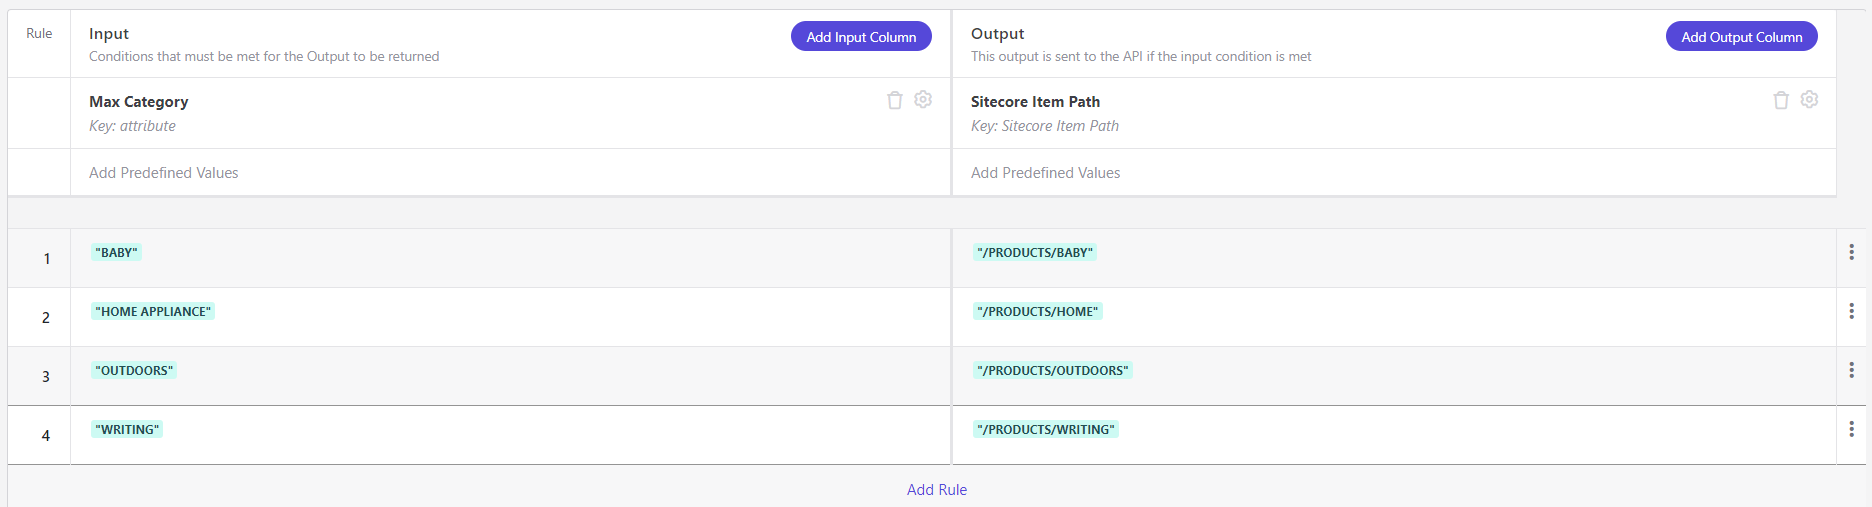
Now, that you have the path of the component that you want to get from sitecore you can add the Sitecore connection and send the path variable there.
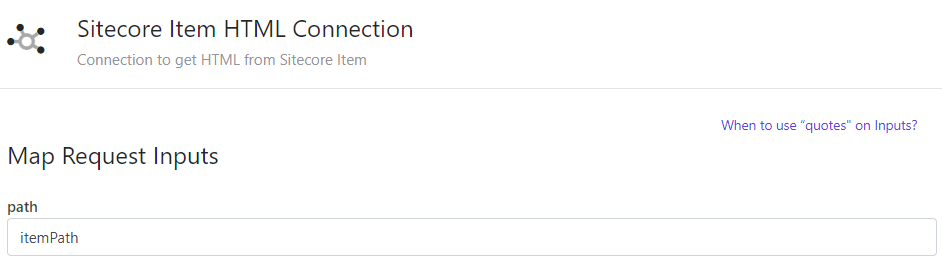
Finally, to get the data serialized you need to add a programmable to return the data from the connection.
// This function will return HTML as string (function () { // Add statements here return {'data': JSON.stringify(sitecoreItemHtmlConnection.data)} })();There the settings need to be configured this way
When all is added the decision model should look like this:

Finally, you can test this decision model and see if you get the needed component

If everything is correct you can move your decision model to production
Create Experience
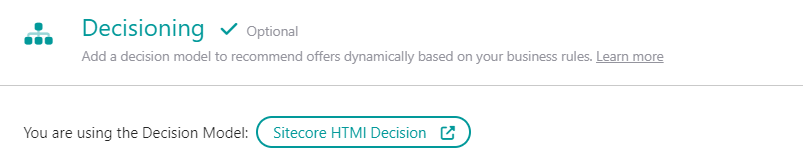
When you create the experience first add a new variant and then add the connection to your decision model.
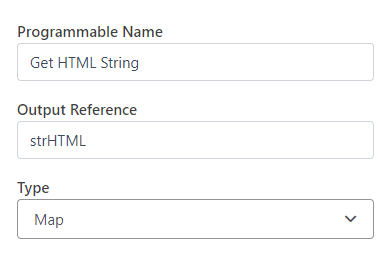
Now, return to your variant to the API tab and add the following code
<#assign strHtml = getDecisionModelResultNode("Get HTML String").outputs[0].strHTML.data>{ "html" : ${strHtml}}Add the following in the JS tab to be able to inject the component from Sitecore in any part of the site.
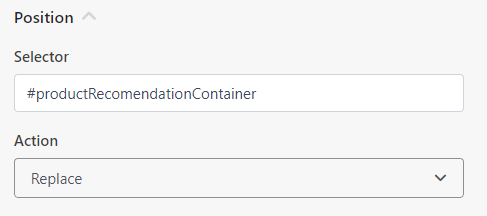
// You can choose how you want to add your HTML by using insertHTMLBefore, insertHTMLAfter, or replaceHTML methods// e.g insertHTMLAfter('.someClassName'); or insertHTMLAfter('body'); or replaceHTML('#myPageId')let selector = `[[Selector | string | body | { group: Position, orderGroup: 1, order: 1, required: true }]]`;let action = `[[Action | enum(Insert After, Insert Before, Replace) | insertHTMLAfter | { group: Position, orderGroup: 1, order: 2, values: [insertHTMLAfter, insertHTMLBefore, replaceHTML], required: true }]]`;if (action === "insertHTMLAfter") { insertHTMLAfter(selector);}if (action === "insertHTMLBefore") { insertHTMLBefore(selector);}if (action === "replaceHTML") { replaceHTML(selector);}Add the following in the HTML tab to render the HTML
<!-- define the structure and content of your Experience in HTML e.g.-->{{{html}}}<!-- Use dynamic Guest variables, type ctrl+space or guest to explore available entities.--><!-- Type 'd' to see decisioning helpers -->Save the experience and fill out the form to select where to inject the component
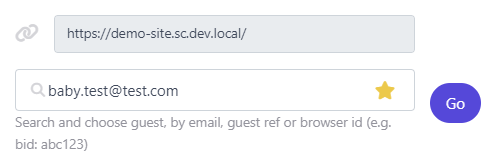
Now, preview the experience with a guest to know if you get the component you wanted from Sitecore depending on the category.
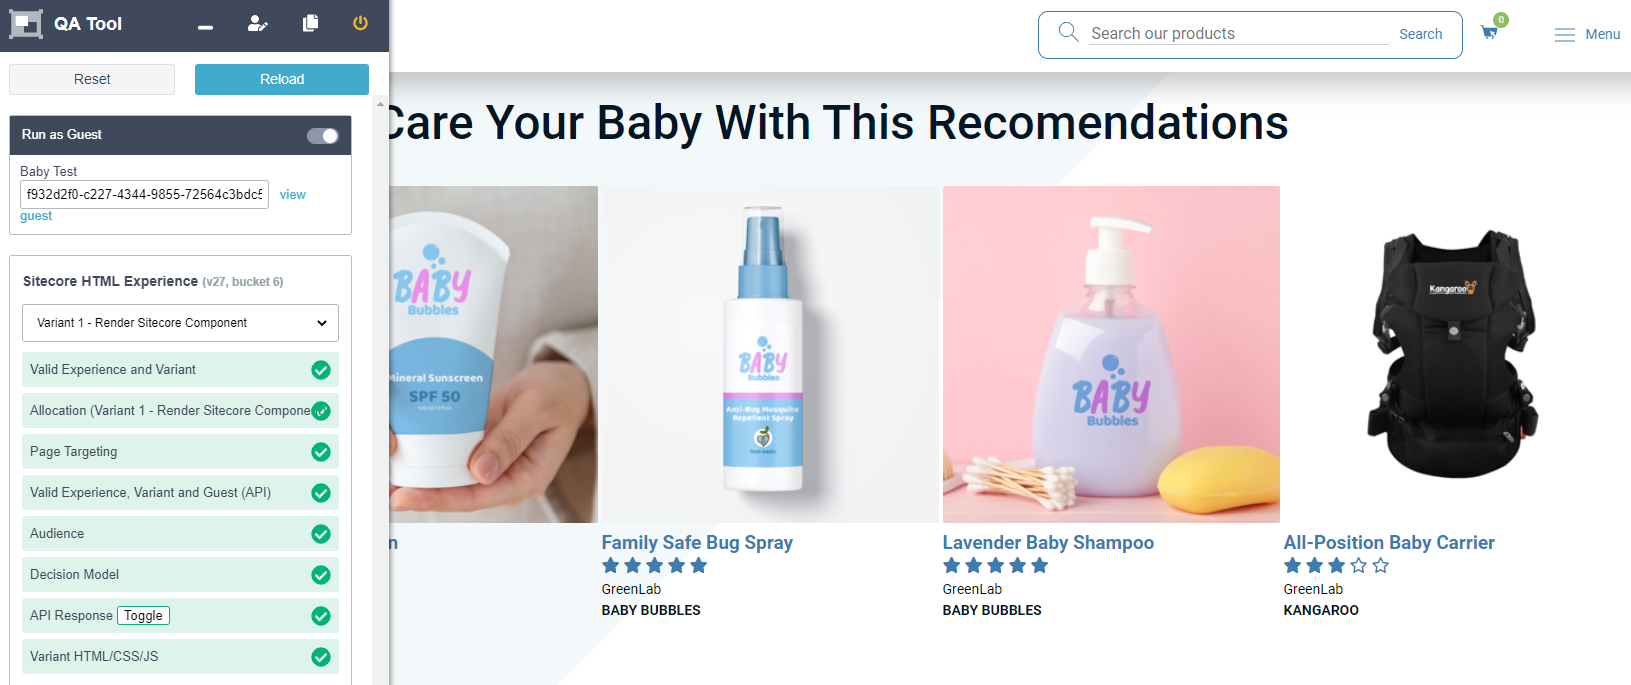
Finally, you can publish your experience!